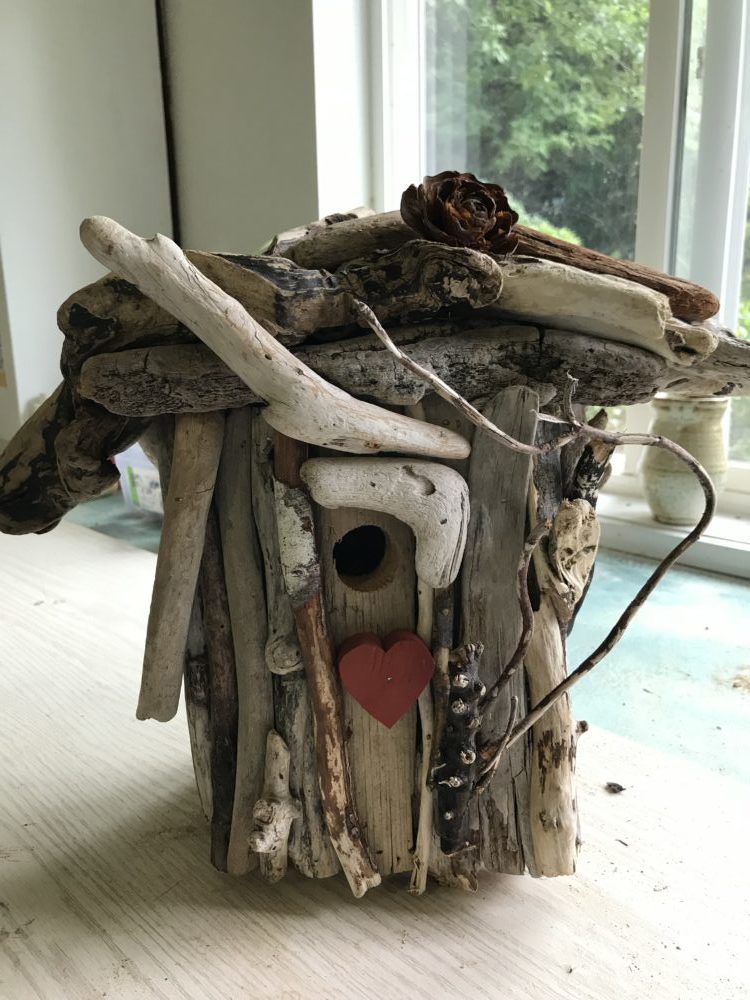
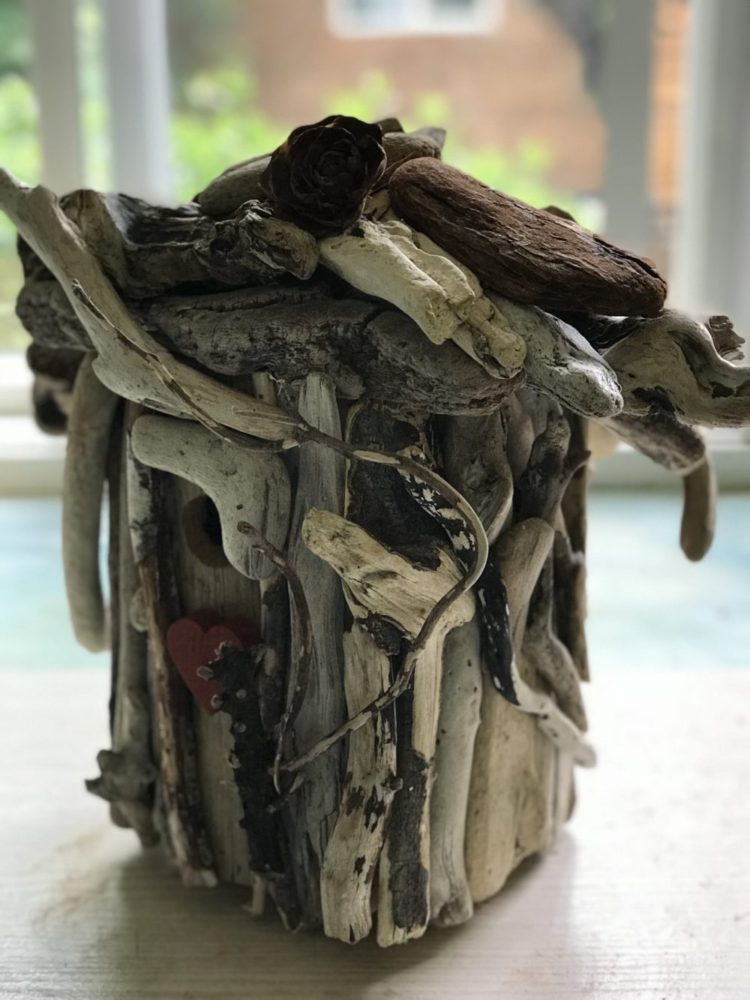
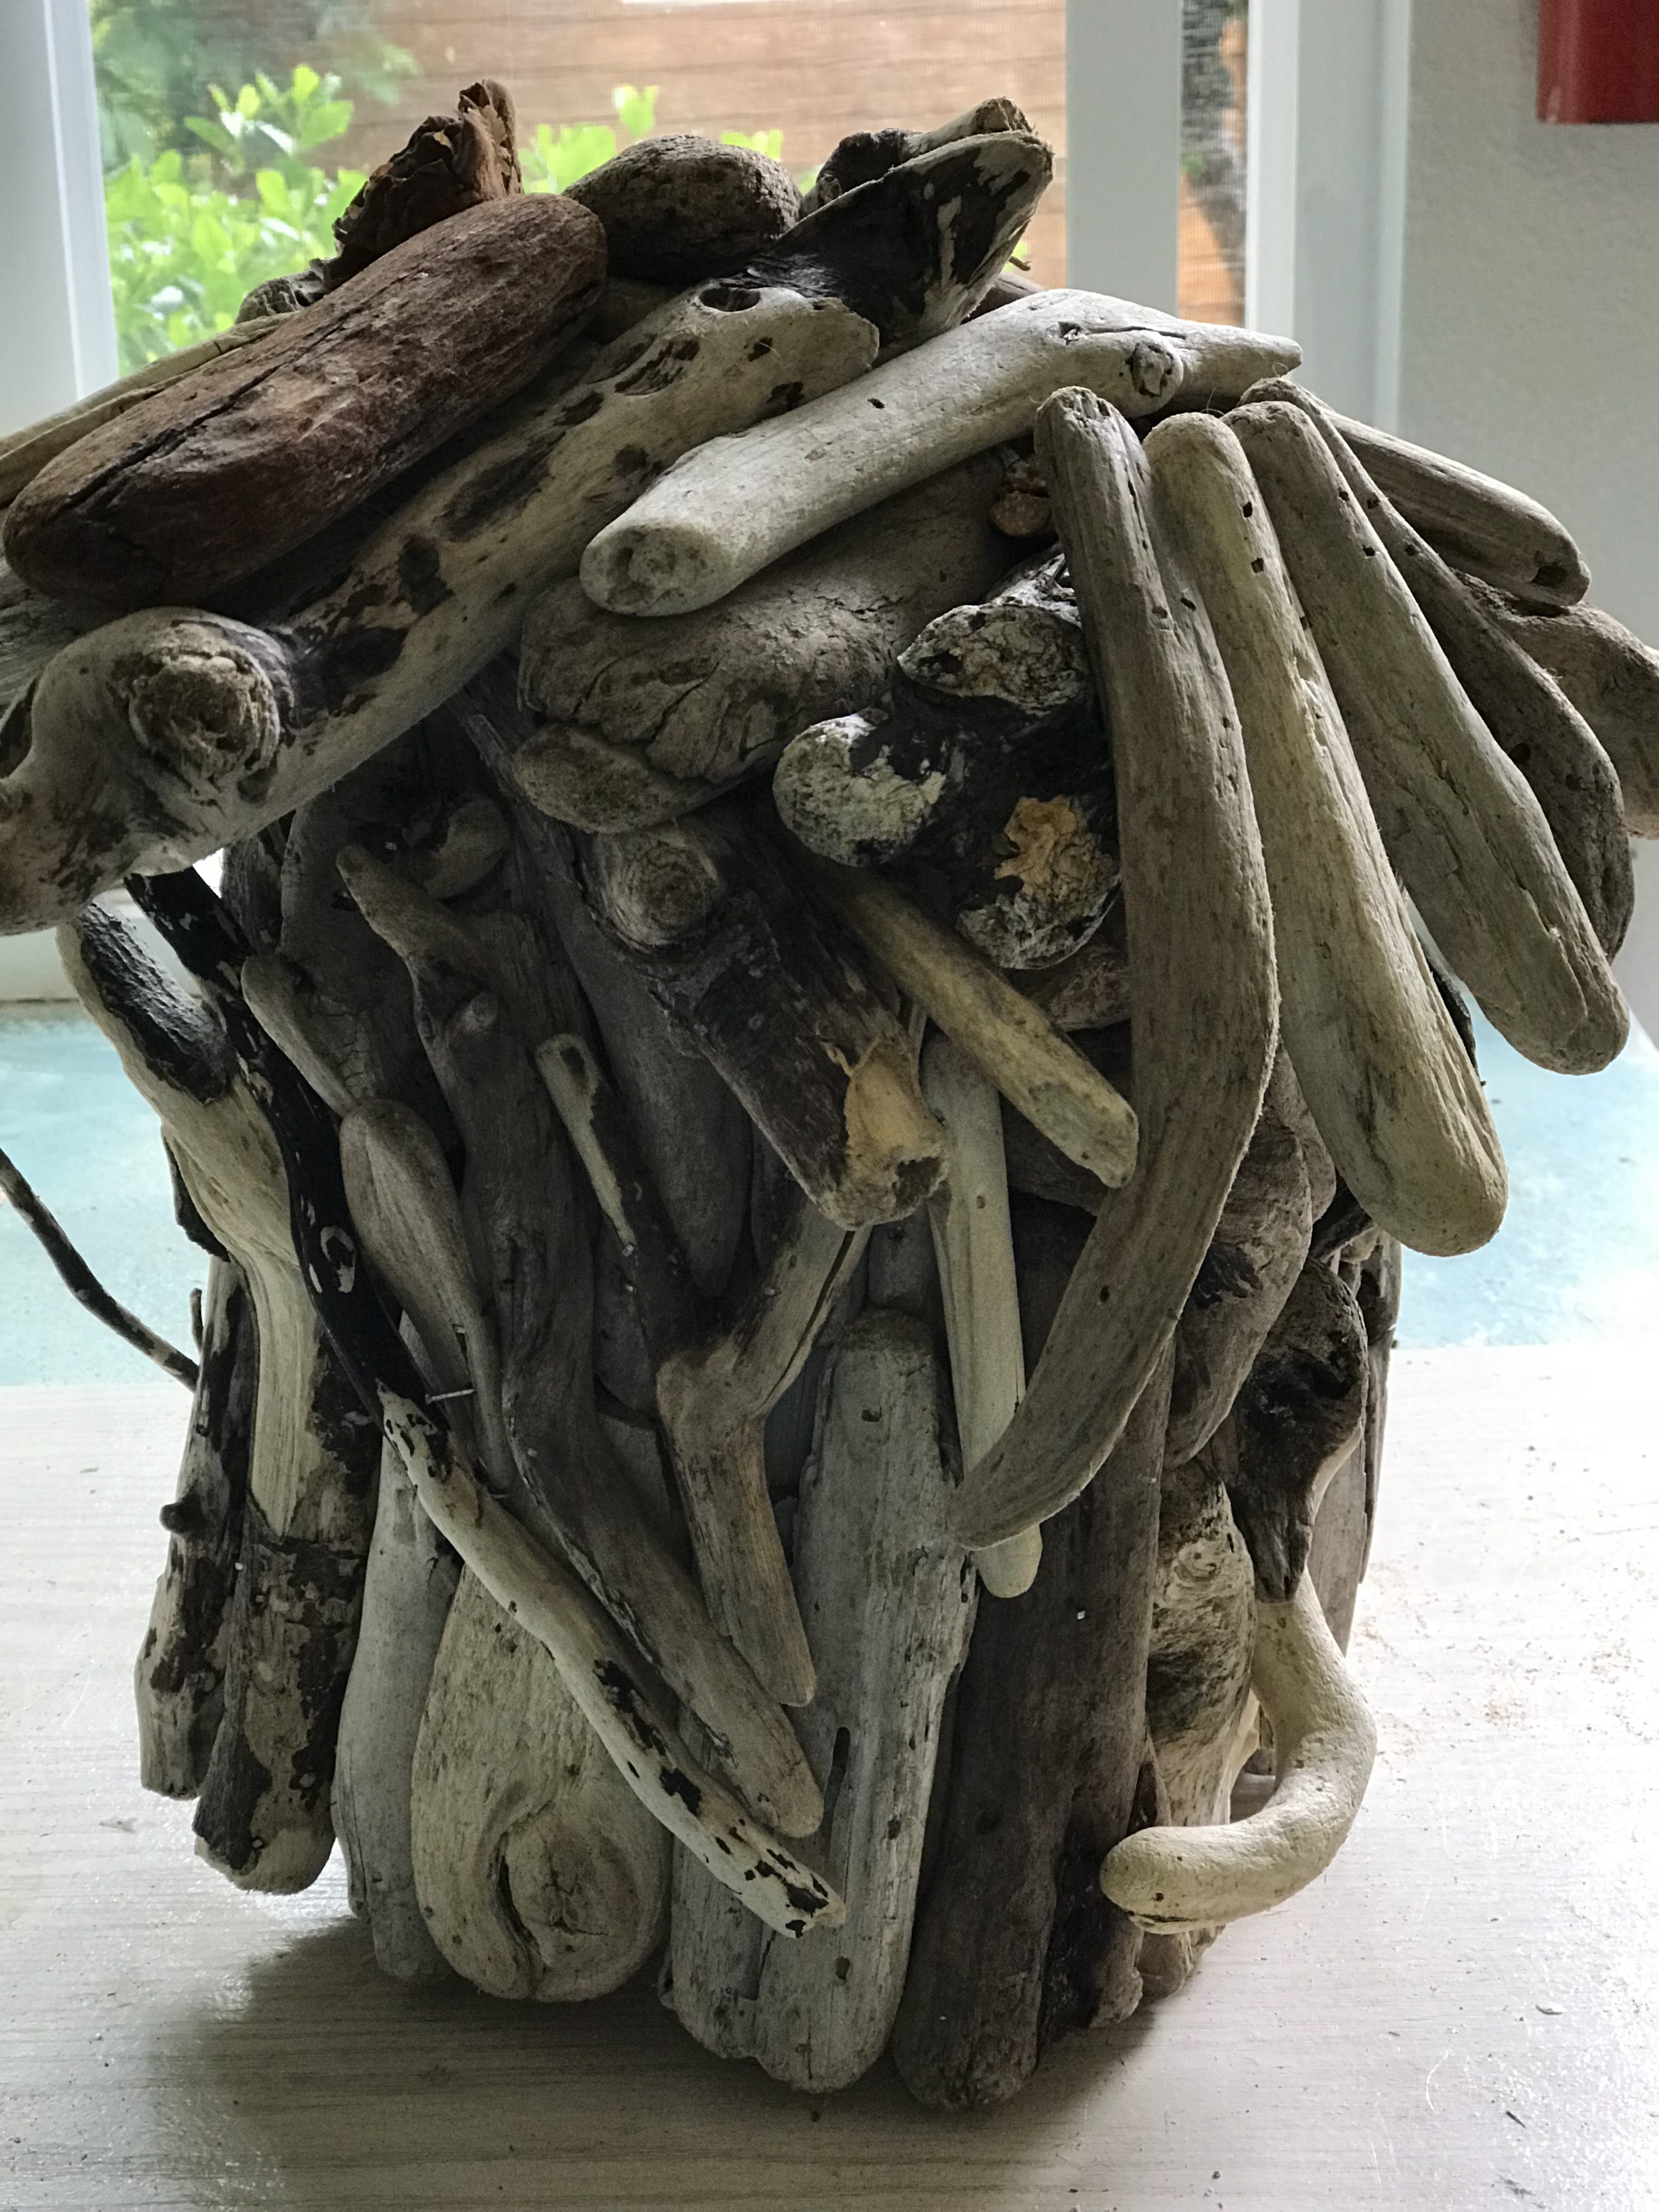
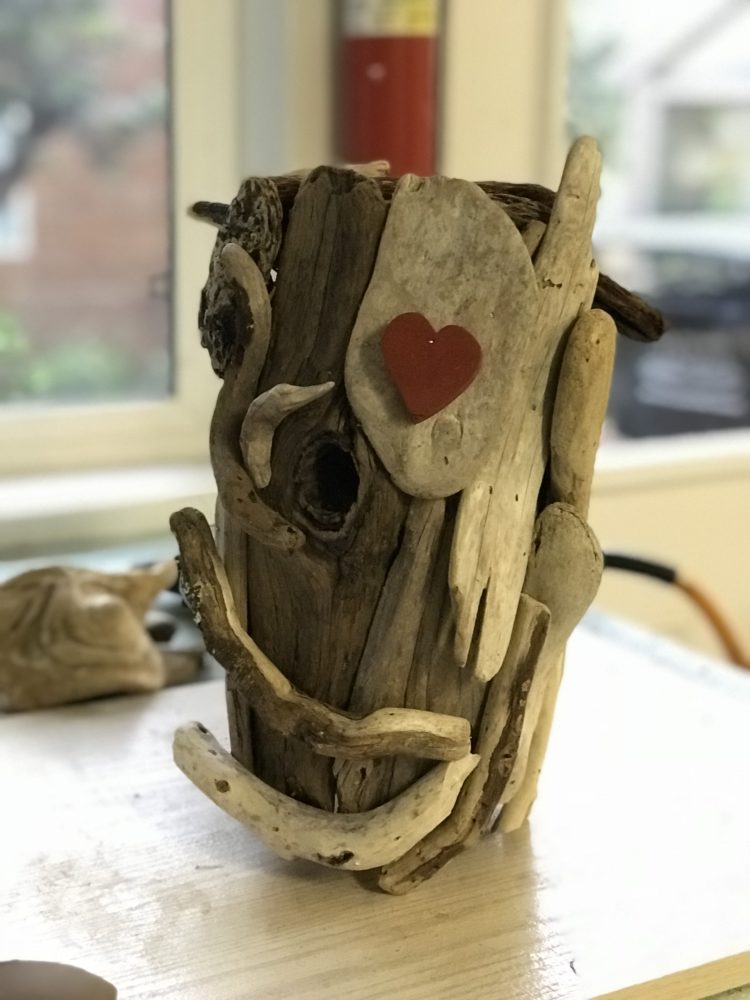
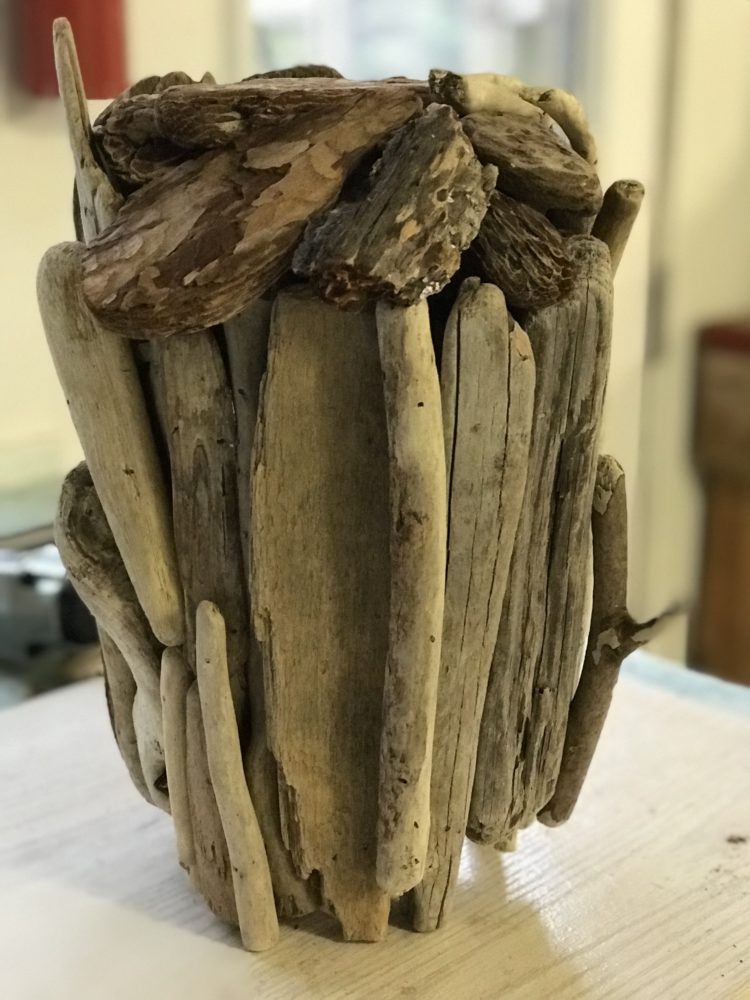
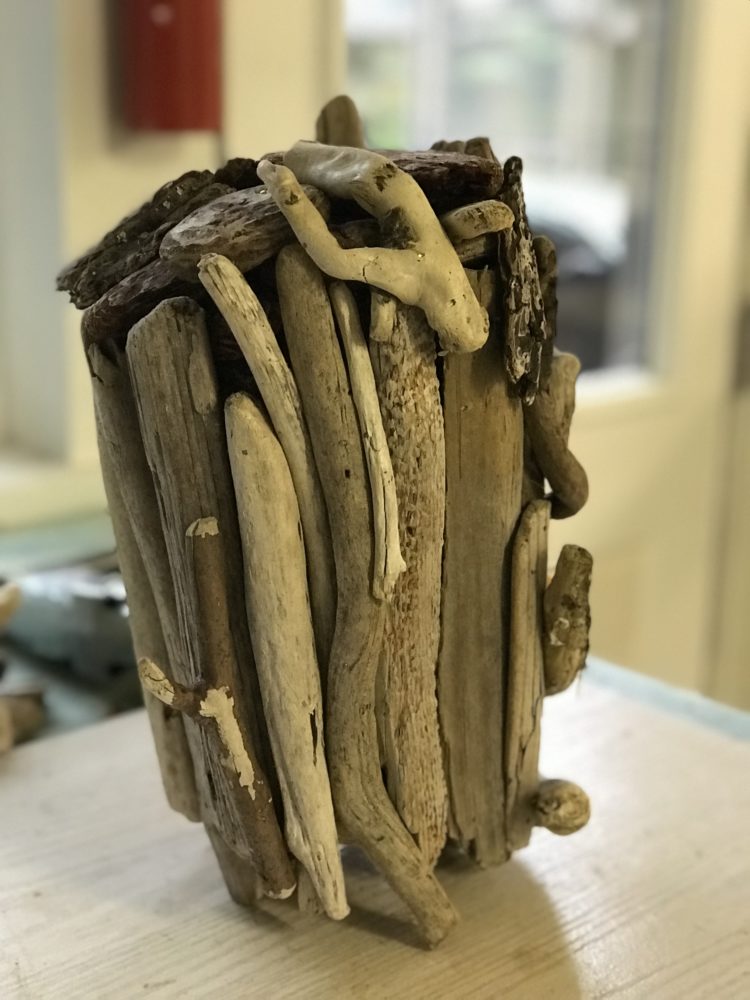
My third driftwood birdhouse and I went a bit crazy but had a fun time adding more pieces and making it a little larger, not so much on the inside as I did building up the various pieces of driftwood on the outside.
Nancy Bolton-Rawles, Artist - N Bolton Art Studio
Fine Art, Website Design, Photography
My third driftwood birdhouse and I went a bit crazy but had a fun time adding more pieces and making it a little larger, not so much on the inside as I did building up the various pieces of driftwood on the outside.
For my second driftwood birdhouse, I started with a piece of driftwood that already had a knothole just the right size! All I had to do is sand it down just a little and a chickadee or wren could fit safely through the hole. Larger birds cannot fit so…a peaceful and safe home for little birds.
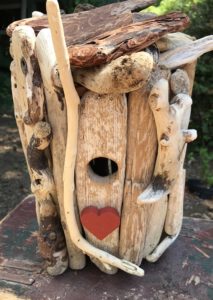
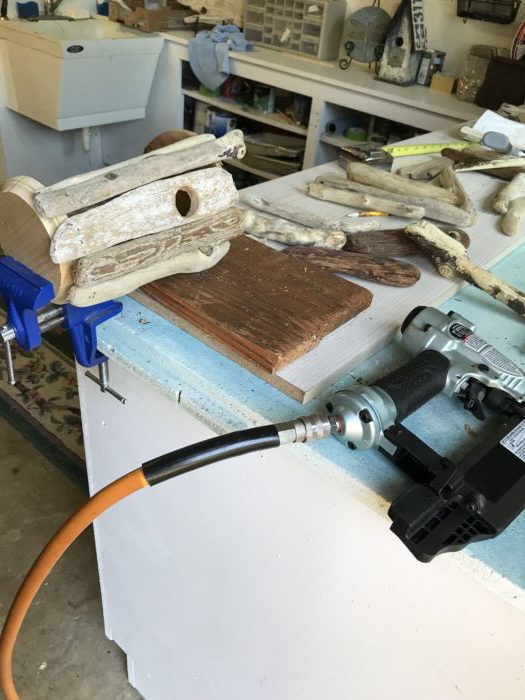
My first driftwood birdhouse creation. Cost of project – just nails and a round piece of wood from Michaels! To assemble, I used a power nail gun. My first time at using one of those too! My neighbor, Dean, and I went in halves for the gun, nails and he provided an air compressor. (Given to him by another friend.) He created a really cute birdhouse first using driftwood he collected here in Oregon on our coast. I decided to try my hand at it. I had created a collage-assemblage out of my finds already, so I had been accumulating a lot of driftwood. Pretty darn fun!
I wanted to give our chickadees and wrens a place to settle in and feel that if I hung it they would really use it so I searched for information online that would tell me more about birdhouses. I didn’t realize that birds needed specific size holes and homes!
Chickadees/Wrens:
Floor – 4″ x 4”
Box height 8-10″
Entrance above floor 6-8″
Entrance hole 1-1/8″
I purchased two 4″ round pieces of pine from Michaels. I think they were about $1.25 each. I could cut my own out of scrap wood but I don’t have the tools to do that. I used a drill to create the entrance hole in one of the pieces before I started nailing them to the rounds. One round would be the top and one at the bottom providing the birds an 8-10″ vertical space. The driftwood pieces dictated the style. It took some time to decide what pieces fit the best. You can see how it turned out! Pretty darn cute! I hope a birdie builds a happy nest inside!