• Skip to main content

Nancy Bolton-Rawles, Artist - N Bolton Art Studio

Fine Art, Website Design, Ceramics, Photography

  • Home
    • Gallery
  • Fine Art
    • Paintings
    • Mixed Media
  • Other Arts & Crafts
    • Ceramics
    • Vintage
      • Ribbon Art – Instructions
  • Photography
    • Flowers – Macro
    • Oregon Coast
    • Furry and Flying Friends
    • More – Misc.
  • Blog
  • About
    • Altered Recipes
  • Contact

Driftwood

Jan 23 2020

Driftwood Whale – Fun with Paper Clay and Driftwood!

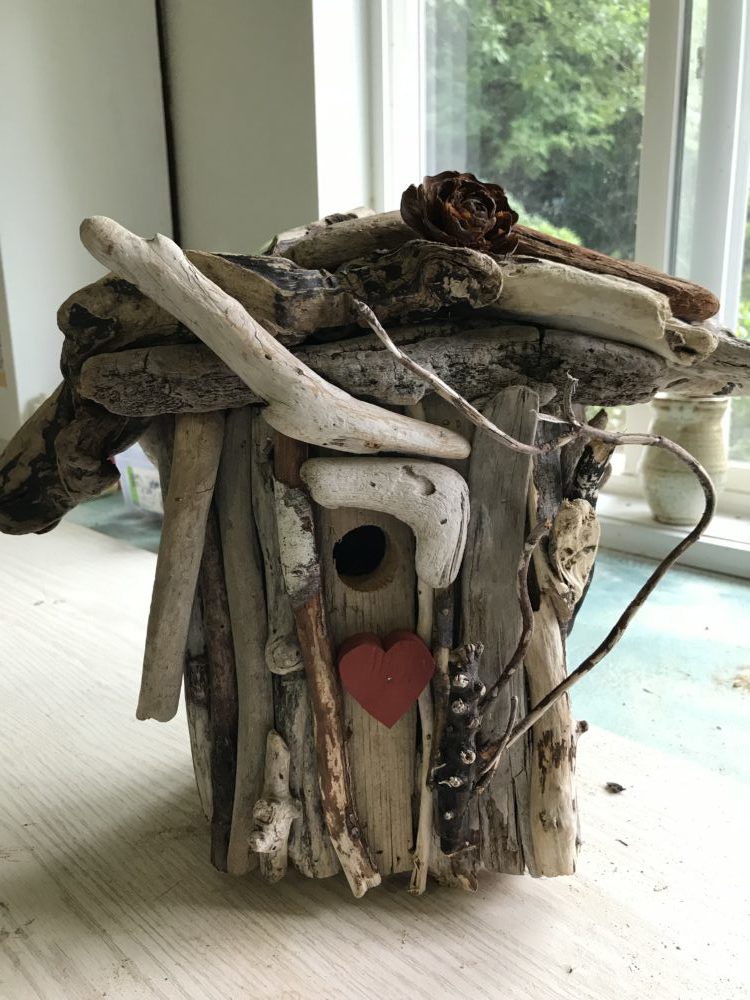
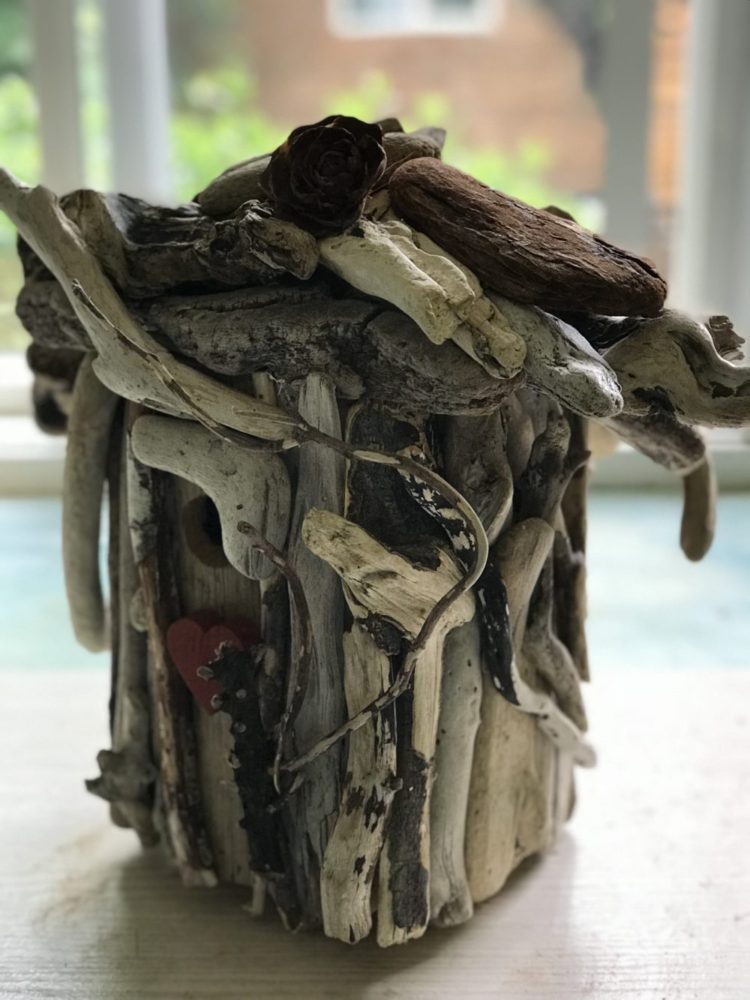
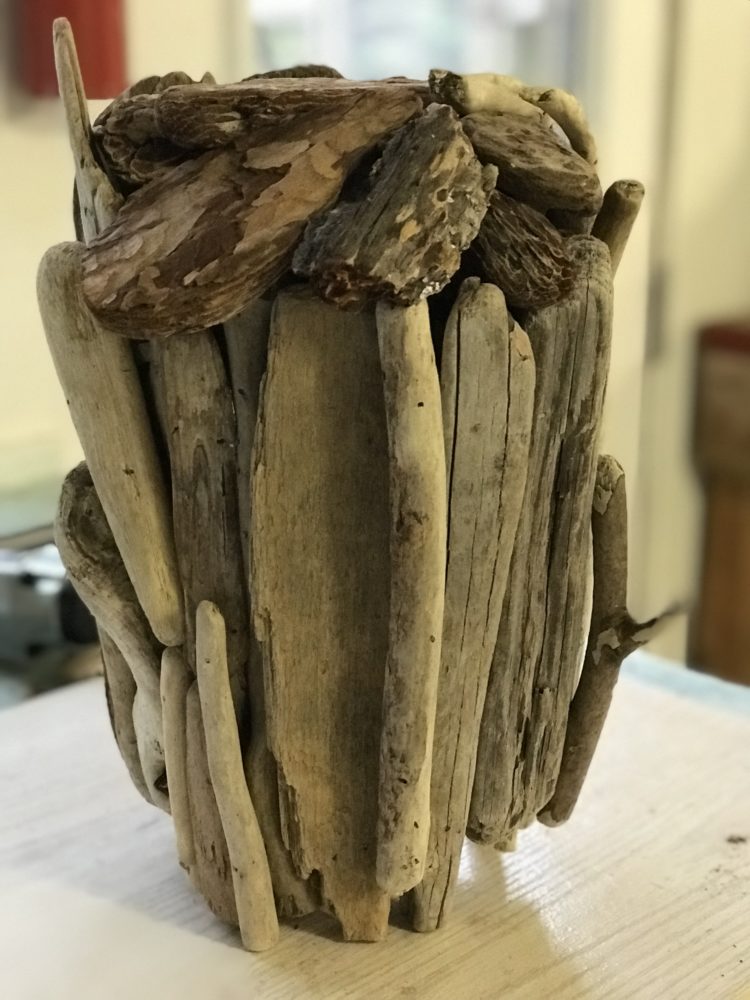
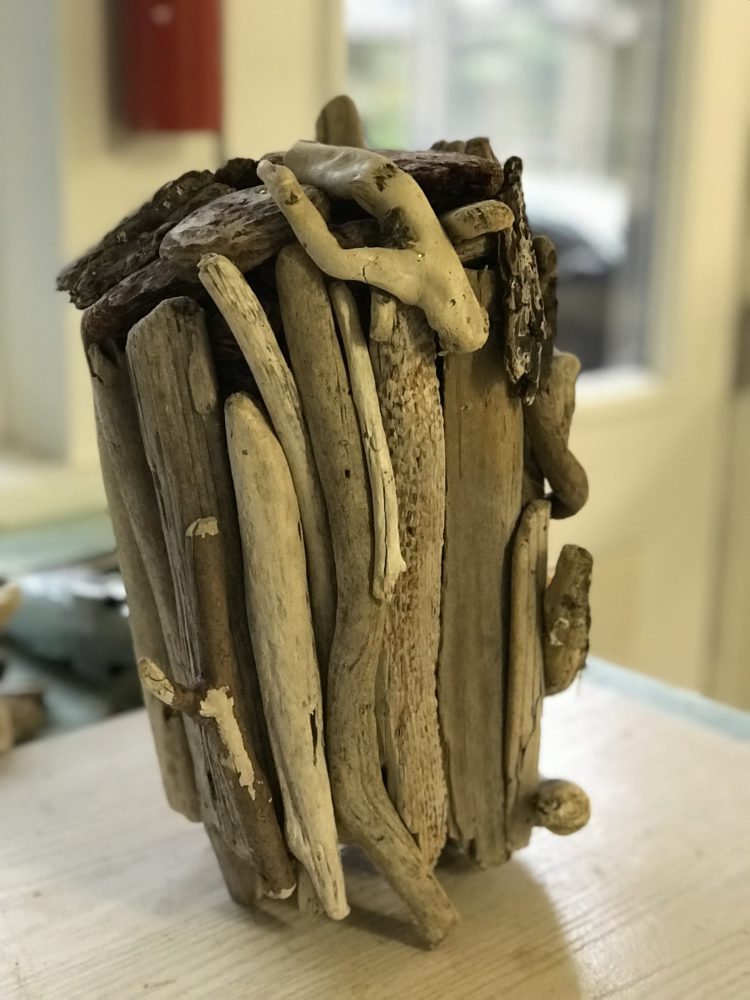
I have been collecting pieces of driftwood since we moved here to Yachats, Oregon December 2016 from Colorado. I kept looking at this piece and it was whispering to me: “I’m a whale.”

This piece of driftwood sat on my worktable for quite awhile. I knew it would be a whale. I saw that even before I picked it up and is why I picked it up. It was time to give it life.

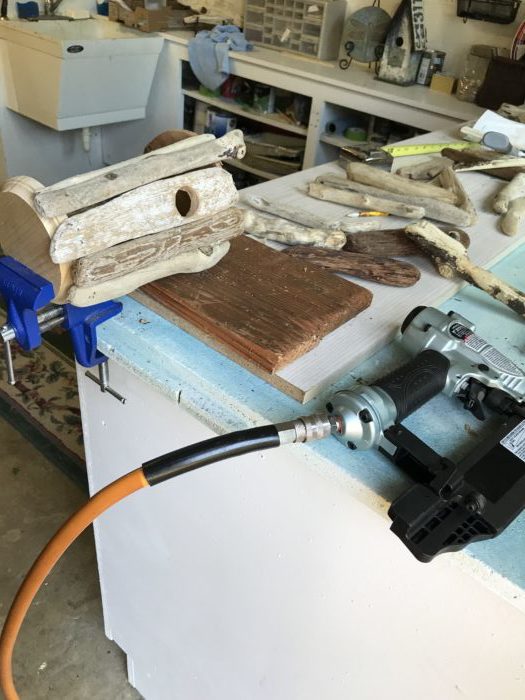
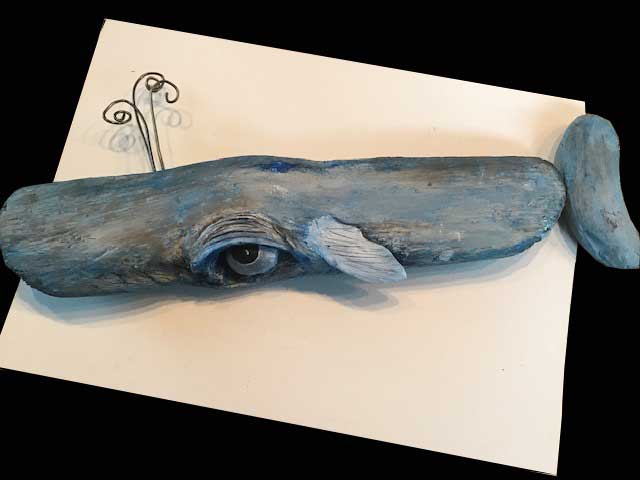
Recently, I made an eye for it out of paper clay, but it just didn’t look right. I decided it was way too small. So I made a larger eye, then I felt it needed a lid, a fin and fluke (tail fin) came next and of course, it had to spout some water. I made the wire “water” from an old wire coat hanger. Then I attached a fluke (tail fin) drilling a hole in the driftwood fin piece and in the whale body and attached the fluke to the body with a piece of wire running between them. I used a little Gorilla gel glue in each hole to make sure they stayed together.

First, I painted the driftwood with gesso and gave it a coat of polymer medium. The paper clay itself will attach to the wood as it is drying.  I also gave the finished piece coat of gel medium to help protect it.

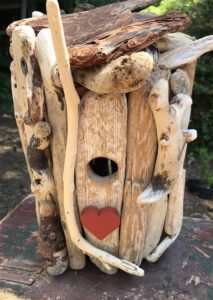
This photo shows my finished piece. I was thinking it was a he but found another piece of driftwood that could make a fine whale calve. So, I think this is actually a mama whale. The calve can share her limelight and swim right next to her. I’ll post the baby when she is finished.

I am also creating a driftwood fish… I think it may be a salmon! All things Yachats. It’s a beautiful place and the beauty here tickles my muse.

Take a look at other pieces of bas relief I created with paper clay.

Interested in learning more? I found this step-by-step tutorial on making a bowl. Pretty cool!

And if you’re interested in learning more paper clay techniques, you might enjoy Artful Paper Clay by Rogene Mañas.

Driftwood Whale, paper clay - N. Bolton-Rawles, Artist(Sold)

Written by Nan · Categorized: Art, Driftwood, Paper Clay · Tagged: driftwood, paper clay, Whale

Sep 03 2018

Driftwood Birdhouse #3

My third driftwood birdhouse and I went a bit crazy but had a fun time adding more pieces and making it a little larger, not so much on the inside as I did building up the various pieces of driftwood on the outside.

back of birdhouse #3

Written by Nan · Categorized: Art, Driftwood · Tagged: bird, birdhouse, driftwood, unique

Sep 01 2018

Driftwood Birdhouse #2

For my second driftwood birdhouse, I started with a piece of driftwood that already had a knothole just the right size! All I had to do is sand it down just a little and a chickadee or wren could fit safely through the hole. Larger birds cannot fit so…a peaceful and safe home for little birds.

Written by Nan · Categorized: Art, Driftwood · Tagged: art, bird, birdhouse, driftwood

Aug 09 2018

Driftwood – Birdhouse #1

Driftwood Birdhouse #1

My first driftwood birdhouse creation. Cost of project – just nails and a round piece of wood from Michaels! To assemble, I used a power nail gun. My first time at using one of those too! My neighbor, Dean, and I went in halves for the gun, nails and he provided an air compressor. (Given to him by another friend.)  He created a really cute birdhouse first using driftwood he collected here in Oregon on our coast. I decided to try my hand at it. I had created a collage-assemblage out of my finds already, so I had been accumulating a lot of driftwood. Pretty darn fun!

I wanted to give our chickadees and wrens a place to settle in and feel that if I hung it they would really use it so I searched for information online that would tell me more about birdhouses.  I didn’t realize that birds needed specific size holes and homes!

Chickadees/Wrens:
Floor – 4″ x 4”
Box height  8-10″
Entrance above floor 6-8″
Entrance hole 1-1/8″


I purchased two 4″ round pieces of pine from Michaels. I think they were about $1.25 each. I could cut my own out of scrap wood but I don’t have the tools to do that. I used a drill to create the entrance hole in one of the pieces before I started nailing them to the rounds. One round would be the top and one at the bottom providing the birds an 8-10″ vertical space. The driftwood pieces dictated the style. It took some time to decide what pieces fit the best.  You can see how it turned out! Pretty darn cute! I hope a birdie builds a happy nest inside!

Building my first driftwood bird house

Written by Nan · Categorized: Art, Driftwood · Tagged: birdhouse, birdhouses, driftwood

  • Site Map
  • Contact
  • Terms of Service and Privacy Policy

Copyright © 2025 ♥ Intent Design Studio ♥ Nancy Bolton-Rawles ♥ Log in